My journey to self-hosting II

Host ur own infra at cheap cost and make it extremely easy to maintain
a long due followup on my previous adventure . Lets say ... i got busy ! 🙁
Now if you followed the previous post well kudos ! 😉u would have nailed down most of the setup u might need to tinker with any raspberry pi. As i would be skipping a lot of steps here
Now kubernetes was becoming a pain in the ass for me to maintain and helm charts were not click and drag kinda easy and most of all the biggest pain was storage, Physical PV was kinda always not that easy to configure rollout or bind to for me personally sooo a lot of the projects which i needed to clone was not going to work.
Then I had a brilliant idea
But it dawned to me slowly that docker compose is a mandate cause multiple projects had modular modules which needed multiple images. Sooo.... i just left my pi powered on and on the attic for a solid 6 months .

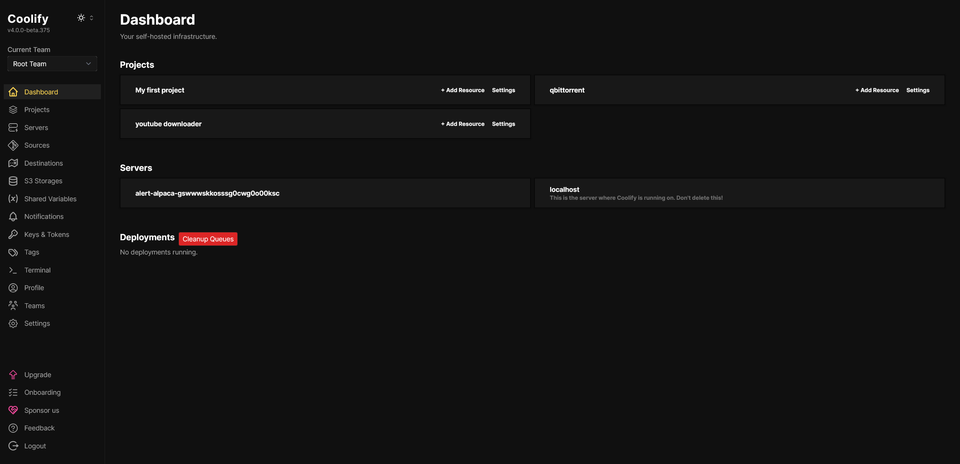
I see a blog post talking about a product called "coolify" which is like a self hosted heroku alternative. .... well well that's neat let me try it out . I fired up my terminal and try to install coolify by using their script
curl -fsSL https://cdn.coollabs.io/coolify/install.sh | bash
thats it ... it installed everything needed and exposed a port. Then being the smart guy i am ( sarcasm ) i went and configured it wrong with a wrong domain and my cloudflare tunnel did not work properly ( spoiler alert it did work properly ). A few more hicckups later.. i took a break of a week

yea somehow after the week's tiring work which was figuring out a network issue which is still a issue ( i tried my best trial and error )
anyway ... the weekends i tried again and was tired and reformatted the entire pi and did a clean install of rasbian and coolify.
Now i opened coolify hoping for a code sync dashboard or something like cloudflare functions , but all i saw were templates and use custom docker images. that's a bummer. Or so i thought until i saw "Activepieces Your friendliest open source all-in-one automation tool, designed to be extensible through a type-safe pieces framework written in Typescript." thats neat i can use that few installations and re installs later i realised they ( coolify ) use traefic to route , and it does routing via sub domains than path soooooooo cloudflare would not work properly per my config but to my suprise there was a way which they officially support
Behold !!!
https://coolify.io/docs/knowledge-base/cloudflare/tunnels
Now that was neat I wiped clean and started again from flashing new os for rapberry pi .
After a while i tried setting it up as per the docs and followed

which did not work for me , so i followed the first one ,
which is you need to add a public domain every time you would like to expose a new resource through Cloudflare Tunnels.

this was easy as all i had to do was edit the compose file for activepeice which was conveniently placed right in the project

    ports:
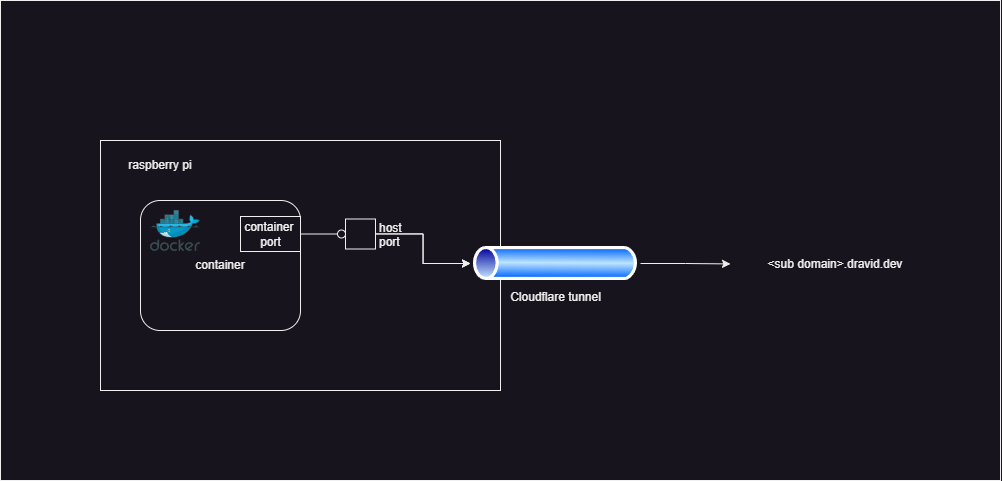
      - "127.0.0.1:8888:80"
to the activepeices service which was it ! thats it now all i have to do is expose it to cloudflare tunnel and it worked
so i mapped a tunnel to access activepeices via tthe 8888 port of the host.
And i am proud to say it worked

then i tried a few more resources and familiarized myself with coolify . Man its cool

